Video: Review and finalize invoices
Here are some of the scenarios to consider when finalizing invoices:
- If your team is creating draft invoices, the partner or manager can review and finalize draft invoices in bulk.
- If you have created draft invoices in bulk, you can proceed to review and finalize them in bulk.
- If you mostly use agreed fees, you may choose to skip the review process and go straight to finalizing.
Invoicing - View, Add and Edit Invoices
- Click Time and Billing > Invoices.
- Click the Draft Invoices tab.
- Use the filtering options, if required, to view only relevant draft invoices.
- Review the invoices on paper or online:
- On paper:
- Select the required invoices and click Print.
- The selected invoices are downloaded into a single PDF file that you can view online or send to a printer.
- Online:
- Select the first invoice on the list to review the data online.
- Edit the data (description, amount, layout) as required.
- Click Save.
- Click Next on the navigation line (top right hand corner), and repeat the reviewing process until all invoices on the list have been reviewed.
If you have multiple offices that require separate invoicing, use the steps below to change the billing entity on your invoices.
- Click Time and Billing > Invoices.
- Click the Draft Invoices tab.
- Click on a row to open the invoice.
- Select the Billing Entity from the list.
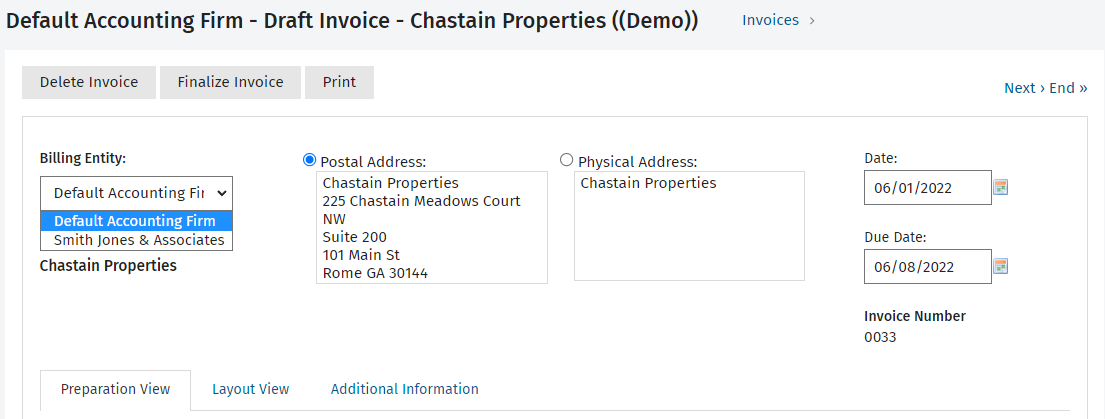
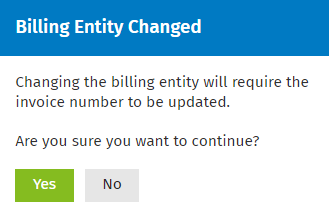
- Click Yes on the notification indicating that the invoicing number will be updated. The invoice number is updated to the next sequential invoice number for that billing entity.
Invoicing - Finalize Invoices
- Click Practice Management > Invoices.
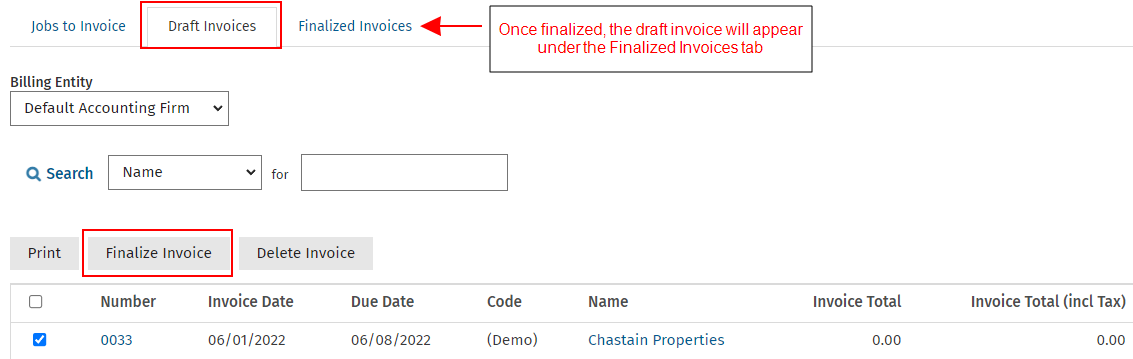
- Click the Draft Invoices tab.
- Select the required invoices using their check boxes.
- Click Finalize Invoice.
- Click Yes.
The invoice is now finalized, and can be located under the Finalized Invoices tab.